Part 4 – Create your gallery
Sun, 4 May 2008 — BAS Admin
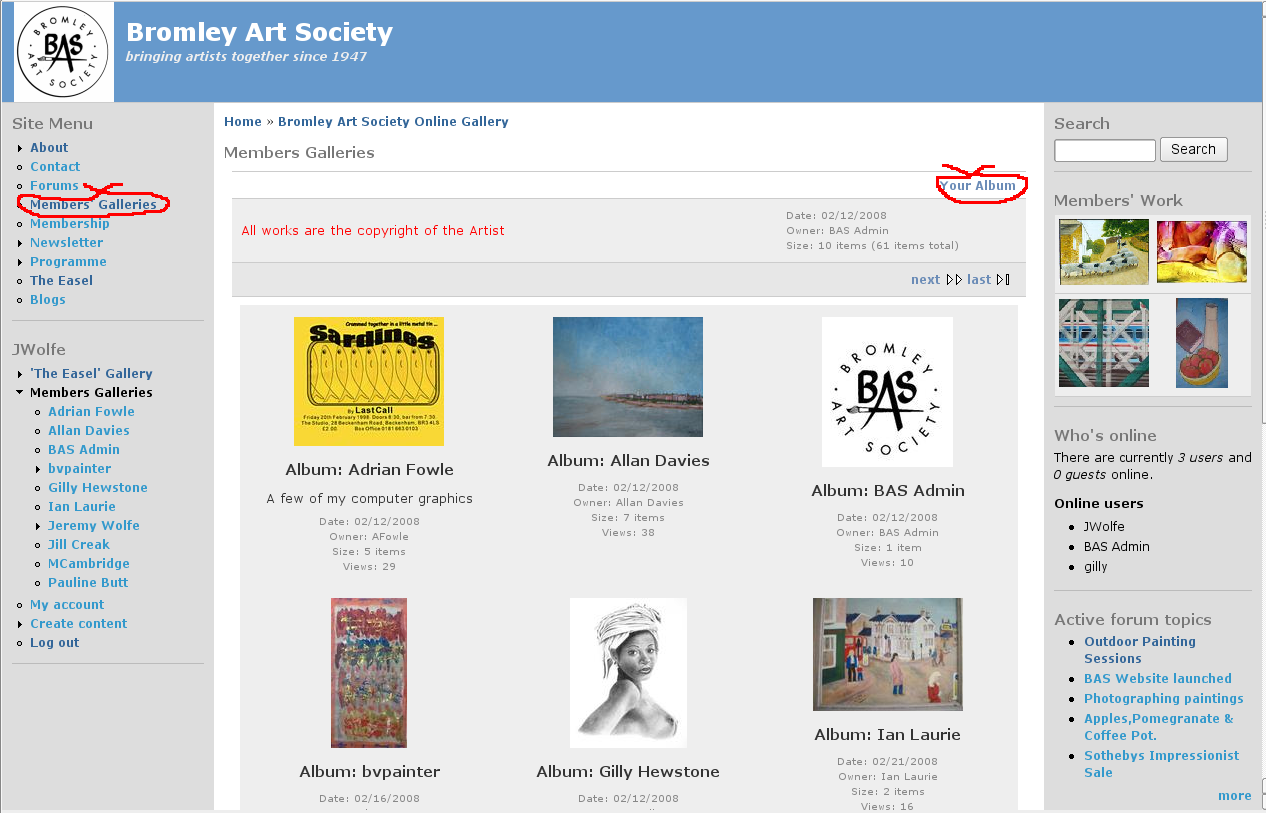
- Log in and from the society's homepage, click on “Members Galleries” in the menu on the left. The Gallery pages are now shown embedded within the central part of the web page. Click on “Your album” in the top right of the Gallery part.
- The gallery software was developed by photographers. They sometimes call things “photos” and sometimes “items”, “images” or “pictures”. Don't let that put you off.
- Your gallery will be empty the first time you visit it. From the “album actions” drop down menu at the bottom of the gallery area, choose add items.

- There are several methods of adding items. These are shown in the tabs at the top of the gallery area. Choose the first one, “From Web Browser” by clicking on it. If you want to explore the other methods see the Gallery 2 website. Click on the “Browse” button – this sometimes appears as an icon showing a directory. You will then see a dialogue box for choosing your image. How this works depends on the type of computer you use, so it is not shown here. Find your file, select it and close the dialogue box. You will now see the file name in the web page. Underneath it you can add a caption if you wish, which by default will appear as both the summary and the description (see later section). You can add several pictures at once, if necessary click on the text “more upload boxes”. When you are ready, click the “Add Items” button at the bottom of the page and the upload will begin. It is quite slow, even with broadband.

- If you know how to make a ZIP file, you can put all your pictures in one file instead. Select this from the browser and the pictures will be uploaded and unzipped automatically, which is a little more convenient.
